 Working with Calendars
For the grandparent who has everything, what could be more appreciated then a calendar full of pictures of favorite grandchildren? With Artisan, you can turn a photo book project into a functional gift by adding a monthly calendar to each page. Or, if you prefer, create a calendar project from scratch from one of the Artisan calendar templates.  You can also place multiple months on a single page for a quarterly or yearly calendar poster. Artisan is smart enough to plug in the dates so you can focus on the fun design features!

How to Insert a Calendar Element
- Open the page you want to insert the calendar element.
- From the Insert ribbon, click
 .
.
The calender element appears and is ready to format.
- From the Calendar pane, select your desired calendar options.
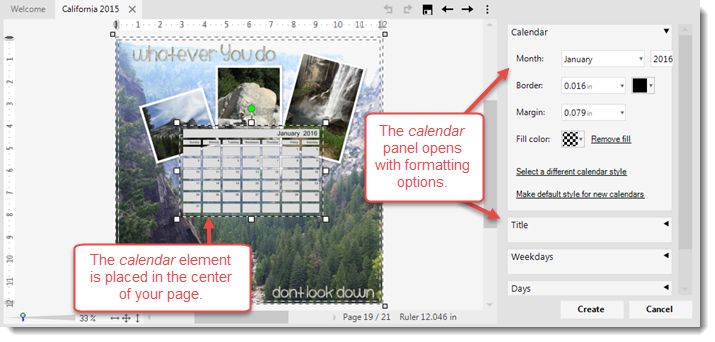
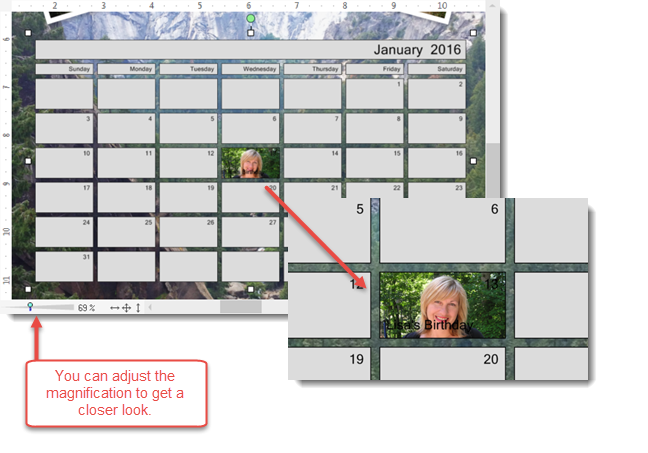
Note: You can always use magnify the view of your workspace as you choose options.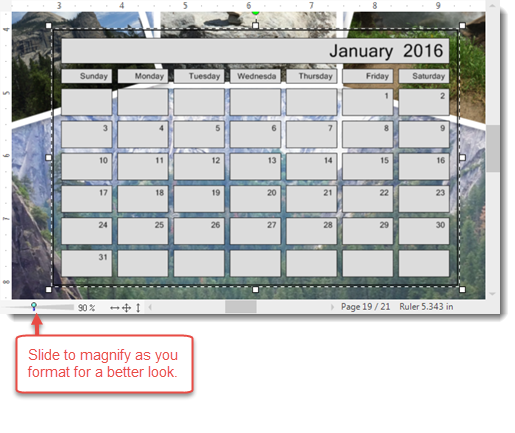
| Option | Description |
|---|---|
| Month | Choose the month and year for the calendar element. Dates will populate automatically. |
| Border | Adjust your border width and color. You can also choose none (top of the list) for no border. |
| Margin | Adjust the size of the space between the border and the calendar days. |
| Fill color | Invokes the Color Picker to allow you to fill the spaces between the days with a color or pattern (see Working with Colors and Fills for more information). |
| Remove fill | Removes the fill that was just placed. |
| Show title | Allows you to choose a calendar title of just month, month and year, or no title at all. |
| Layout | Allows you to place the calendar title on the top, left, bottom, or right. |
- Click Create.
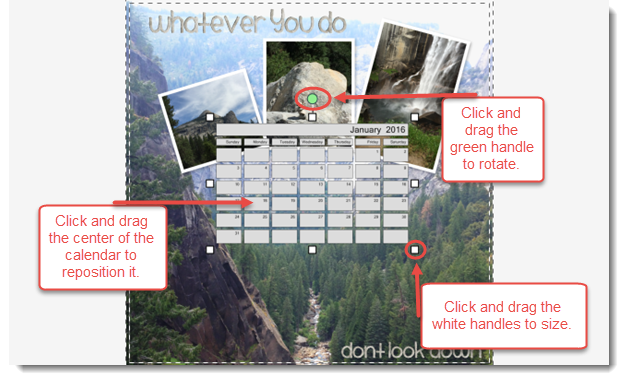
The calendar settings are saved and appear on your page.
How to Add Special Dates and Images to a Calendar
Once your calendar is inserted, you can add special dates or images to it for an even more personalized touch. To add a date or image follow these steps:
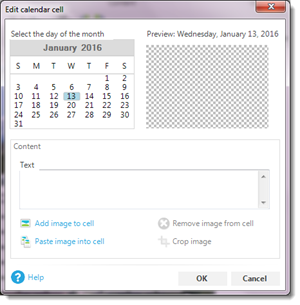
- Double-click the calendar element.
The Edit Calendar Cell dialog box appears.
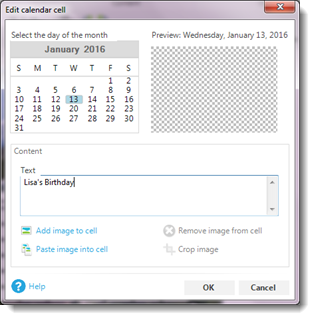
- Click the date to which you want to add text and/or an image.

- (Optional) Click Add Image to Cell.
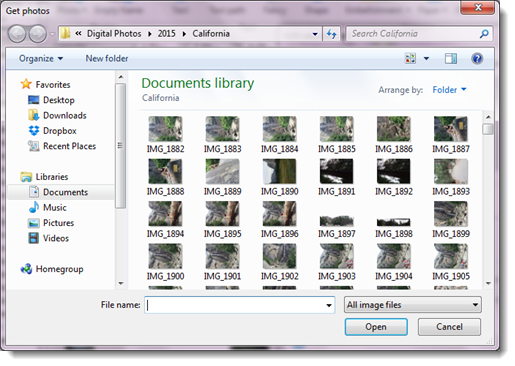
The Get Photos dialog box appears.
- Navigate to and select the photo you want to insert and click Open.
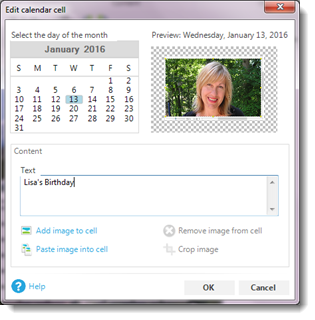
The image appears in the Preview section.
- Click OK.
The text and image appear in the target date on the calendar.
Note: You can repeat the steps to add text and images to more than one special date, or you can add them all from the Edit Calendar Cell dialog box. Just click on each date while the box is open.